Getting started
Welcome to SnapCyte™! This section will guide you through the essentials to start using SnapCyte™ effectively in your lab.
Quick Start Guide
Setting up a account
- Step 1: Visit our Request Free Trial Page and fill out the request form with your details, including your lab setup and equipment.
- Step 2: Our team will review your request. If you do not have a digital microscope, we will arrange to send you an adapter.
- Step 3: Once approved, we will create an account for you and send an email with instructions to set your password. Check your email for the account activation link from SnapCyte™. Click on the link and follow the prompts to set your password.
- Step 4: Log in using your new credentials on your chosen platform (iOS, Android, or Web).
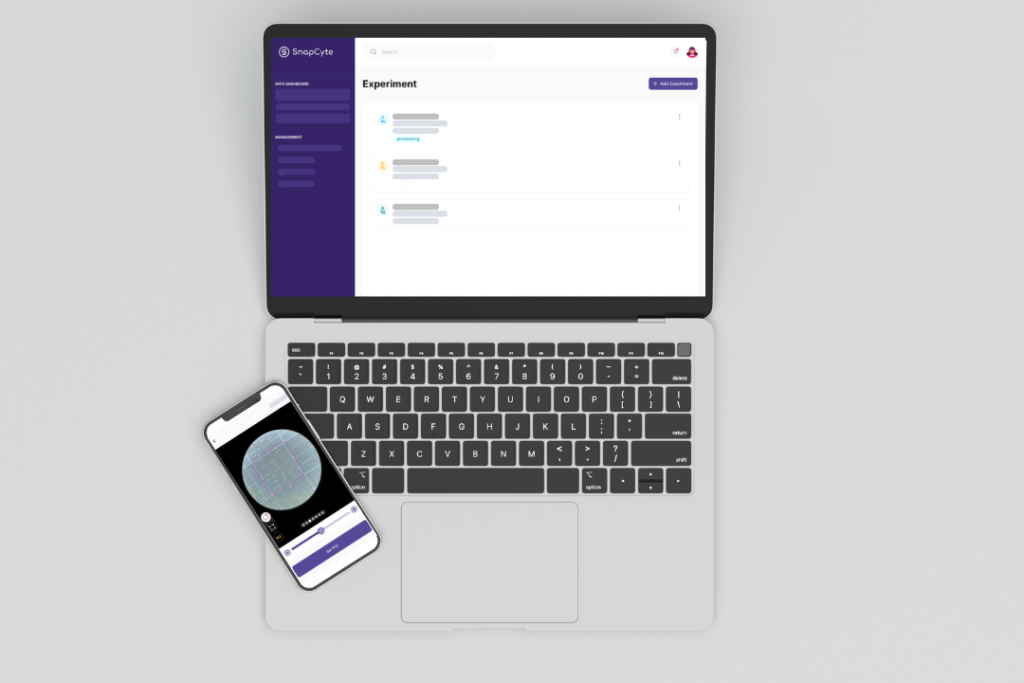
Note: This process ensures that you are equipped with the right tools to use SnapCyte™ effectively and that your images meet the quality standards required for accurate analysis. Mobile App (iOS & Android) vs. Web Application
- Mobile App: Download the SnapCyte™ app from the App Store or Google Play. Use your smartphone or tablet to capture and analyze images directly through the app.
- Web Application: Access SnapCyte™ through your web browser at app.snapcyte.com. Ideal for use with digital microscopes connected to a desktop or laptop.
Setup & Configuration
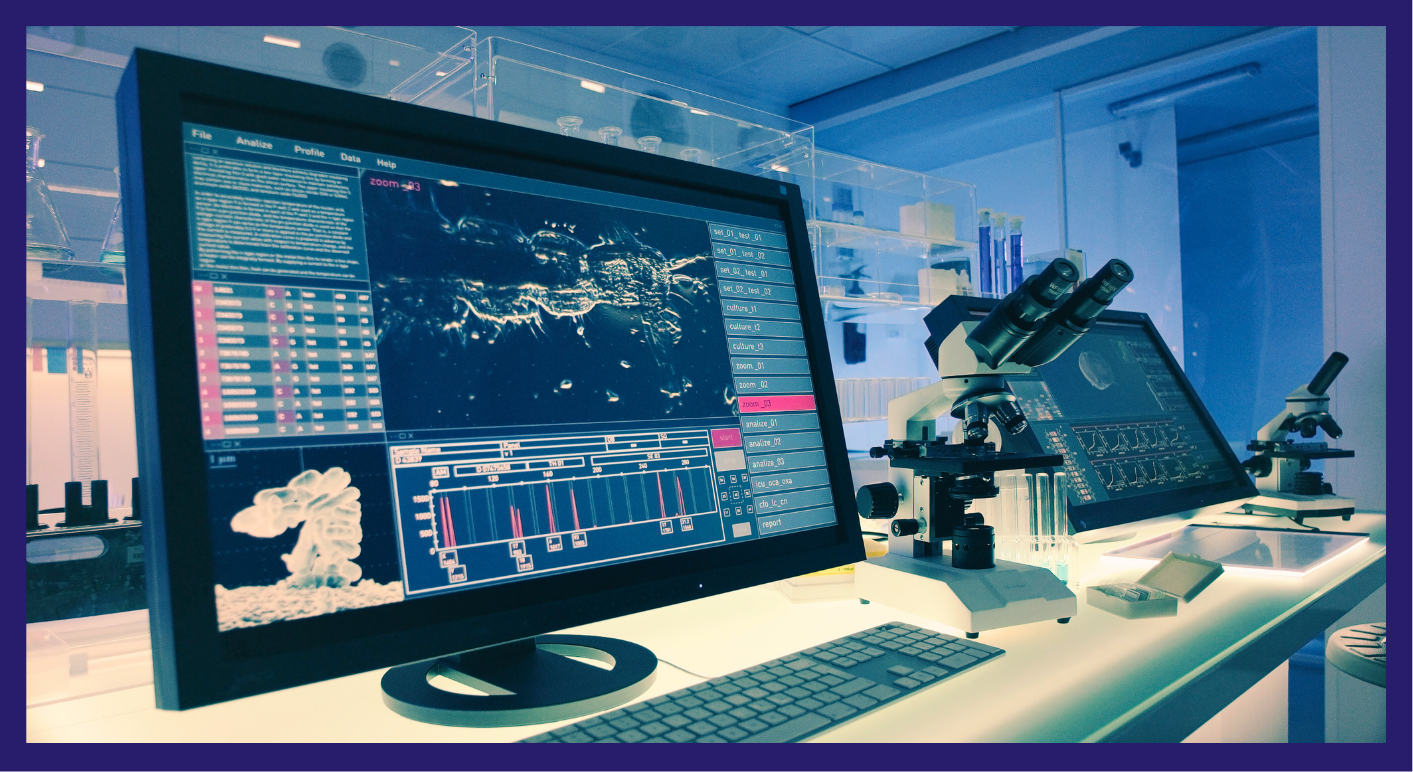
Equipment Requirements Digital Microscope:
- Connect your microscope to your device (smartphone, tablet, or computer) using the provided cables or Bluetooth.
- Configure your microscope settings for optimal image capture.
- Export the pictures and upload them in the SnapCyte™ Web Application.
- Use the SnapCyte™ adapter provided during your trial request.
- Attach the adapter to your microscope according to the tutorial below and start taking pictures directly in the SnapCyte™ Mobile App.